This is an old revision of the document!
Table of Contents
Getting Started with PROTONET
To start using PROTONET, all you need is a computer with an Internet connection and a web browser that supports HTTP and FTP proxies. You can use a direct LAN connection, or if you'd prefer a emulate a full dial-up modem experience, you can use the Raspberry Pi -based Virtual Modem. Using Virtual Modem is optional.
Quick Start
- Install a web browser if you haven't done so already and make sure the computer is online. You can use any web browser that supports HTTP and FTP proxies. To see a list of tested browsers, check out our comprehensive list here.
- Run the web browser and set Protonet as your default proxy server in the web browser configuration. To see which proxy server to use, please see list of our current proxy servers
- Now you can start using the service. Navigate to http://welcome.inode.com/ to begin.
Once you have added the proxy settings, you can start browsing PROTONET! The proxy serves pages from an archive of classic web sites, and the user experience should be close to the real thing. To visit a web site, you can type in an archived web address as it existed in the past.
- If you're a first time user, or don't know where to start, we recommend going to the welcome page at: http://welcome.inode.com.
- For an index of classic web pages, go to http://www.inode.com
- Please note, while using Protonet, you will not have access to other Internet websites as long as Protonet is configured as your primary Proxy server. You can restore Internet access by turning off access through a Proxy server.
Detailed Instructions for Individual Web browsers
For the purposes of scope of documentation, we will cover a limited set of vintage web browsers, but the setup should be similar to many other browsers.
Internet Explorer 3.0
- Go to View ⇒ Options
- Click on the Connection tab
- Tick the checkbox Connect through a proxy server

- Click on Settings…
- Under HTTP: type in the following address:
wayback.steptail.com - Under Port type in the port number of your chosen server. Consult the server list and choose a port number.
- Tick the checkbox Use the same proxy server for all protocols
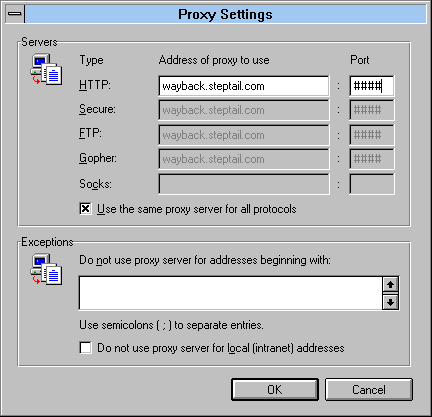
- Click OK, then OK to exit network settings.
- You may begin using the service by navigating to http://welcome.inode.com
Mosaic Netscape 0.9 beta
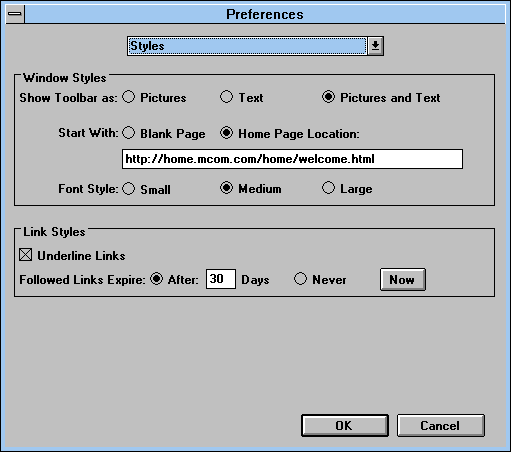
- Open Mosaic Netscape and go to Options ⇒ Preferences
- At the top of the Preferences window, expand the selection box, and switch from Styles to Mail and Proxies
- Under FTP Proxy, Gopher Proxy and HTTP Proxy type in the address
wayback.steptail.com - Under Port type in the port number of your chosen server. Consult the server list and choose a port number.
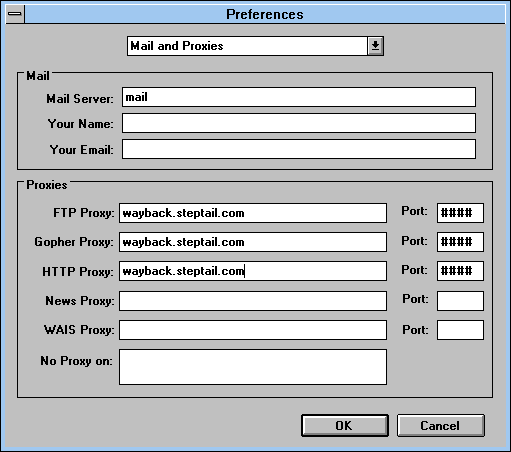
- Hit OK to close out of the Network Preferences window.
- You may begin using the service by navigating to http://welcome.inode.com
Netscape Navigator 1.0
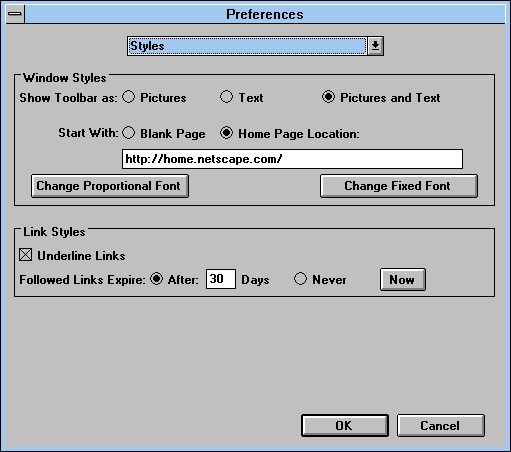
- Open Netscape Navigator and go to Options ⇒ Preferences
- At the top of the Preferences window, expand the selection box, and switch Styles to Mail and Proxies
- Under FTP Proxy, Gopher Proxy and HTTP Proxy type in the address
wayback.steptail.com - Under Port type in the port number of your chosen server. Consult the server list and choose a port number.

- Hit OK to close out of the Network Preferences window.
- You may begin using the service by navigating to http://welcome.inode.com
Netscape Navigator 2.0
- Open Netscape Navigator and go to Options ⇒ Network Preferences
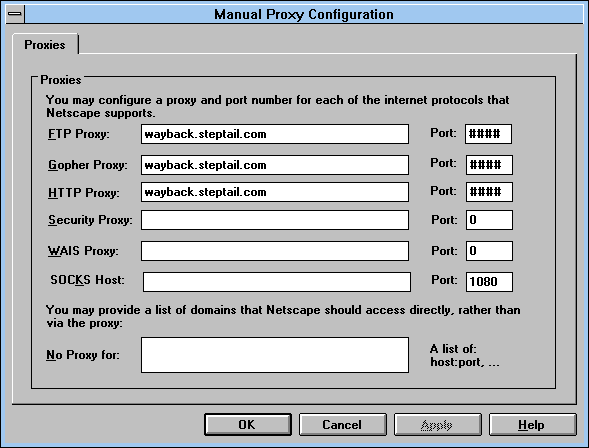
- In the Preferences window, open the tab Proxies
- Under FTP Proxy, Gopher Proxy and HTTP Proxy type in the address
wayback.steptail.com - Under Port type in the port number of your chosen server. Consult the server list and choose a port number.
- Hit OK, then OK again to close out of the Network Preferences window.
- You may begin using the service by navigating to http://welcome.inode.com
Netscape Navigator 3.0
- Open Netscape Navigator and go to Options ⇒ Network Preferences
- Open the tab Proxies

- Under FTP Proxy, Gopher Proxy and HTTP Proxy type in the address
wayback.steptail.com - Under Port type in the port number of your chosen server. Consult the server list and choose a port number.

- Hit OK, then OK again to close out of the Network Preferences window.
- You may begin using the service by navigating to http://welcome.inode.com
Netscape Navigator 4.0
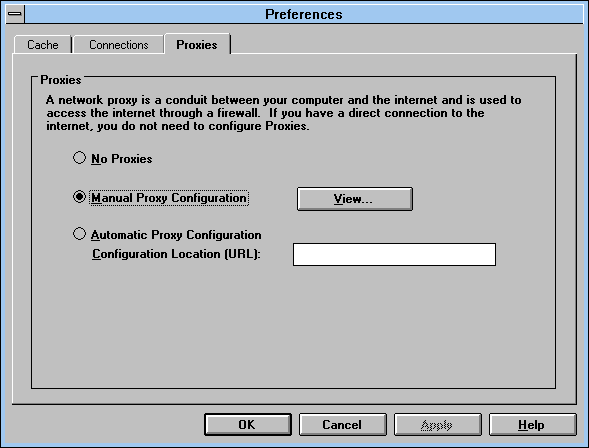
- Go to Edit ⇒ Preferences
- Under Advanced, open Proxies
- Select Manual proxy configuration and click on View.
- Under FTP Proxy, Gopher Proxy and HTTP Proxy type in the address
wayback.steptail.com - Under Port type in the port number of your chosen server. Consult the server list and choose a port number.
- Hit OK, then OK again to close out of the Preferences window.
- You may begin using the service by navigating to http://welcome.inode.com
Netscape Communicator 4.5
- Go to Edit ⇒ Preferences
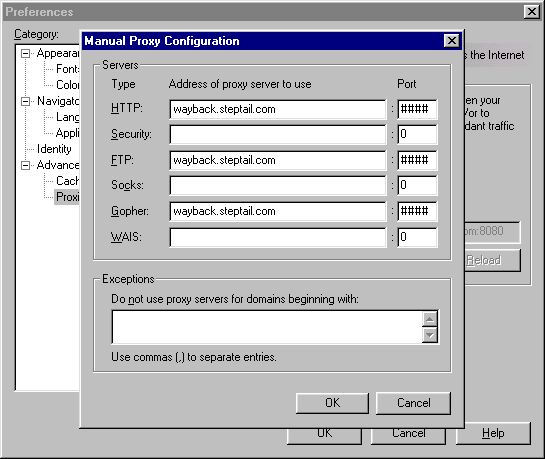
- Under Advanced, open Proxies
- Select Manual proxy configuration and click on View.
- Under FTP Proxy, Gopher Proxy and HTTP Proxy type in the address
wayback.steptail.com - Under Port type in the port number of your chosen server. Consult the server list and choose a port number.
- Hit OK, then OK again to close out of the Preferences window.
- You may begin using the service by navigating to http://welcome.inode.com
Questions? Comments? Contact Me!